Installation
- Before You Begin
- Step 1 — Welcome
- Step 2 — Requirements
- Step 3 — Permissions
- Step 4 — Database
- Step 5 — Admin Account
- Step 6 — Finish
- After Installation
- Troubleshooting
Slotara ships with a visual web installer — no command line required. Upload the files, open your browser, and the wizard handles migrations, seeding, and .env configuration automatically.
Before You Begin
Have the following ready before opening the installer:
| What you need | Details |
|---|---|
| Web server | Nginx or Apache — document root pointed at public/ |
| PHP 8.2+ | With BCMath, Ctype, JSON, Mbstring, OpenSSL, PDO, PDO_MySQL, Tokenizer, XML, ZIP extensions |
| MySQL 8.0+ | An empty database already created, plus its hostname, port, name, username, and password |
| Admin email & password | The credentials you want to use for the super admin account |
Upload and extract the files first:
unzip slotara.zip -d /var/www/slotaraPoint your web server document root to /var/www/slotara/public. See Web Server Setup for Nginx and Apache config examples.
{warning.fa-exclamation-triangle} The installer is only accessible when no
.installedfile exists in the project root. If you are reinstalling, delete the.installedfile first.
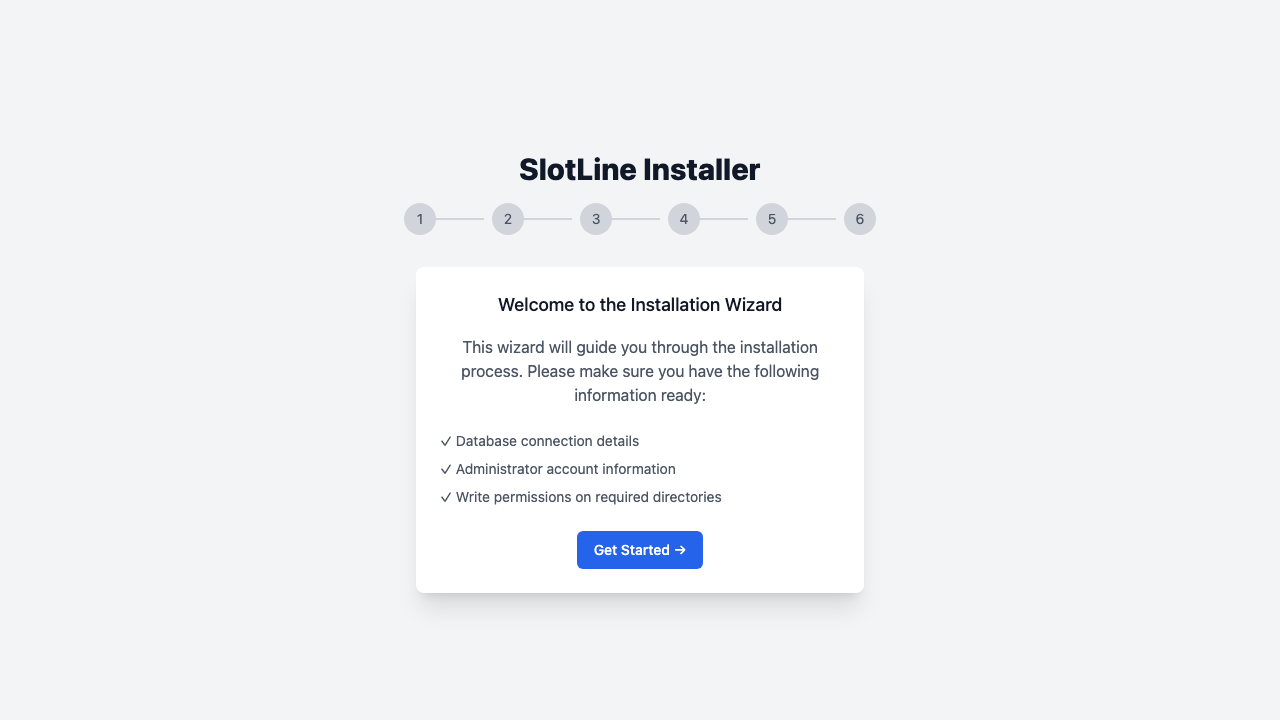
Step 1 — Welcome
Navigate to your domain in a browser. If no .installed file exists, you are automatically redirected to:
https://yourdomain.com/installThe welcome screen confirms you have three things ready:
- ✓ Database connection details
- ✓ Administrator account information
- ✓ Write permissions on required directories
Click Get Started → to proceed.
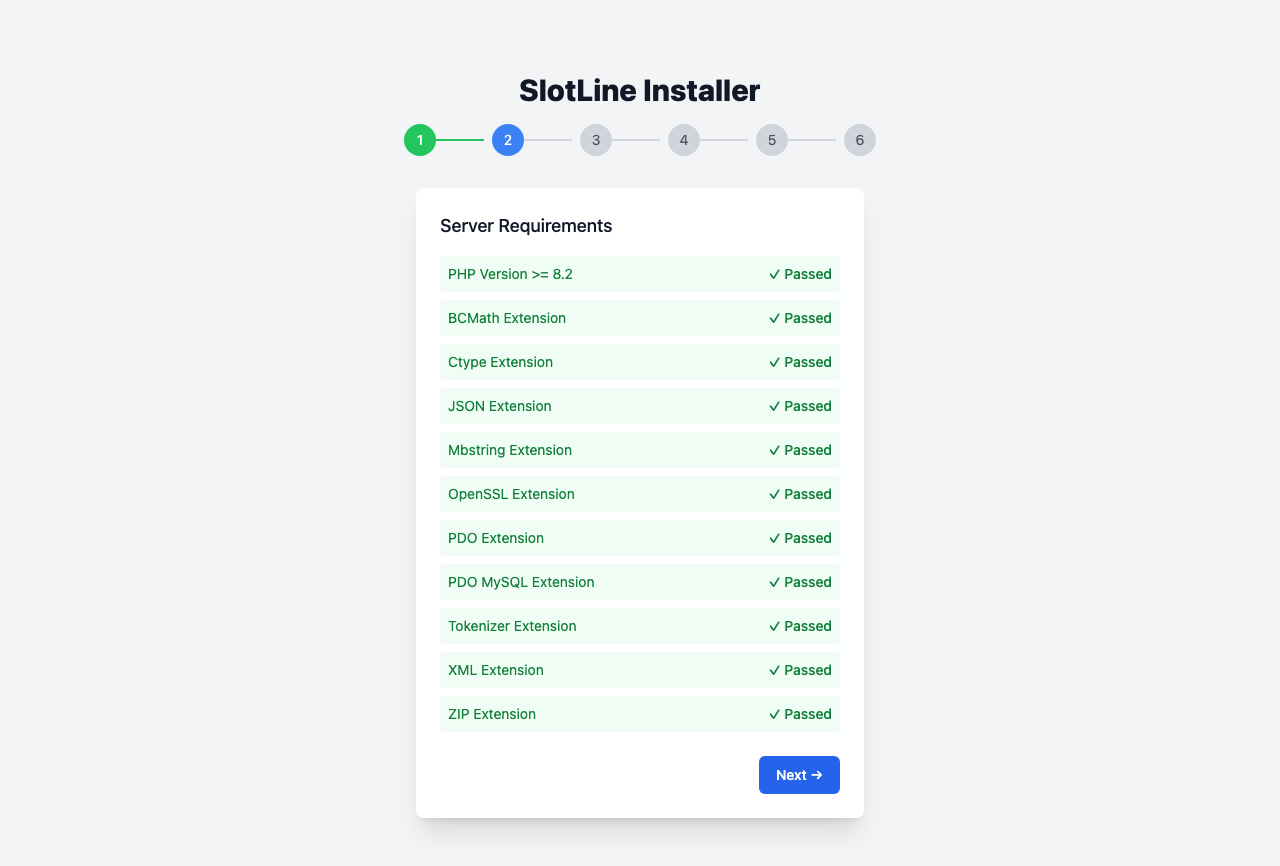
Step 2 — Requirements
The installer checks your PHP version and all required extensions automatically.
| Requirement | Minimum |
|---|---|
| PHP Version | 8.2 or higher |
| BCMath Extension | ✅ Required |
| Ctype Extension | ✅ Required |
| JSON Extension | ✅ Required |
| Mbstring Extension | ✅ Required |
| OpenSSL Extension | ✅ Required |
| PDO Extension | ✅ Required |
| PDO MySQL Extension | ✅ Required |
| Tokenizer Extension | ✅ Required |
| XML Extension | ✅ Required |
| ZIP Extension | ✅ Required |
If a requirement fails:
All checks must show green before you can continue. To install a missing PHP extension on Ubuntu/Debian:
apt install php8.2-{ext}
# e.g. apt install php8.2-mbstring php8.2-xml php8.2-zip
After installing, reload PHP-FPM and refresh the page:
systemctl reload php8.2-fpm{primary.fa-lightbulb-o} On shared hosting (cPanel, Plesk), most extensions are already enabled. If one is missing, contact your host — they can enable it from WHM without server access.
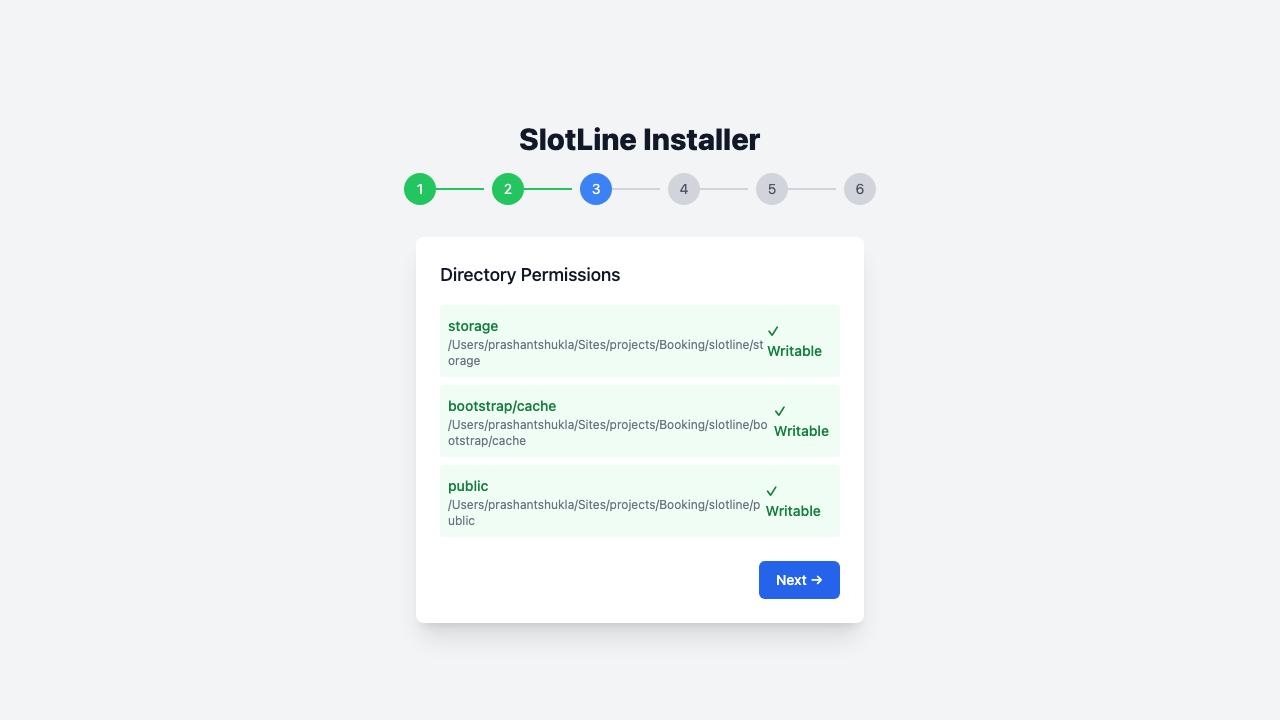
Step 3 — Permissions
The installer checks that your web server can write to all required directories.
| Directory | Purpose |
|---|---|
storage/ |
Framework cache, logs, uploaded files |
bootstrap/cache/ |
Config and route cache |
public/ |
Compiled assets, storage symlink |
If a directory shows not writable, fix ownership and permissions on your server:
chmod -R 755 storage bootstrap/cache public
chown -R www-data:www-data storage bootstrap/cache public
Replace www-data with your web server user (nginx, apache, or nobody depending on your setup). Refresh the page — all checks should turn green.
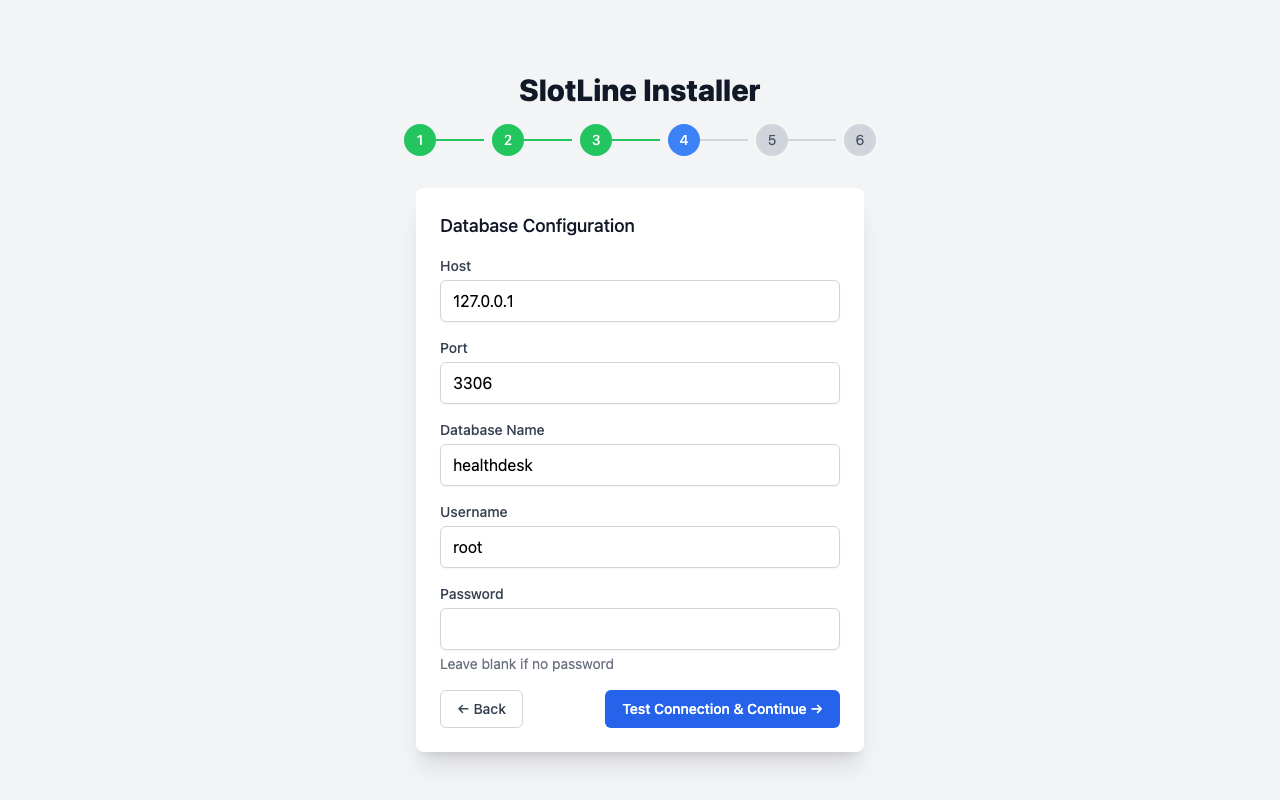
Step 4 — Database
Enter your MySQL database credentials. The installer tests the connection before proceeding — you won't be able to continue if the connection fails.
| Field | Default | Description |
|---|---|---|
| Host | 127.0.0.1 |
Database server hostname or IP |
| Port | 3306 |
MySQL port (leave as 3306 unless your host uses a custom port) |
| Database Name | — | The name of your empty MySQL database |
| Username | — | MySQL user with full access to the database |
| Password | — | Leave blank if no password is set |
{primary.fa-info-circle} Create the database before this step. The installer does not create the database — it only creates tables inside an existing one.
-- Create the database on your MySQL server first:
CREATE DATABASE slotara CHARACTER SET utf8mb4 COLLATE utf8mb4_unicode_ci;
Click Test Connection & Continue →. If the connection fails, an error is shown inline — double-check your credentials and try again. Your database credentials are held in session memory until the final step, when they are written to .env.
Step 5 — Admin Account
Configure your site and create the super administrator account. This step runs all database migrations and seeds the initial data.
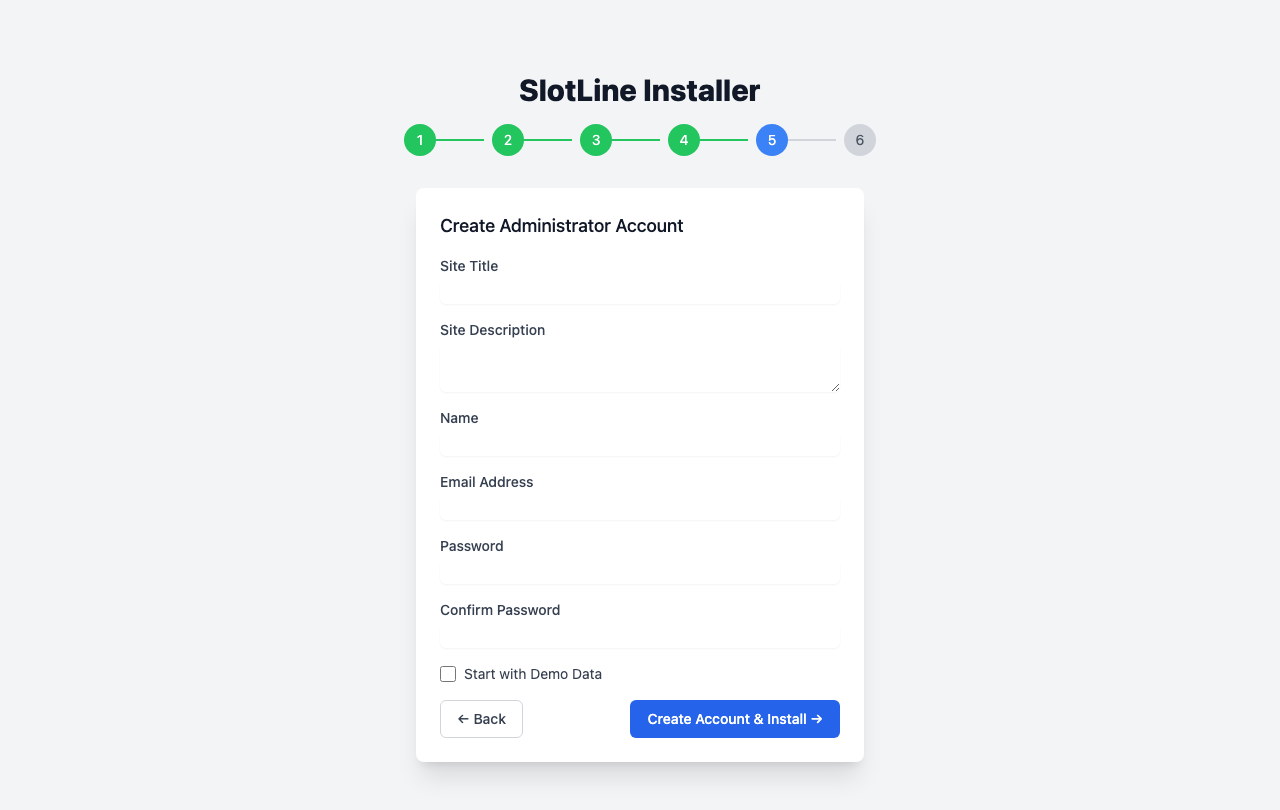
Site Settings:
| Field | Description |
|---|---|
| Site Title | Your platform name — shown in the admin panel header and emails |
| Site Description | A brief description of your platform (optional) |
Admin Account:
| Field | Description |
|---|---|
| Name | Full name for the super admin account |
| Email Address | Login email — use something you have access to |
| Password | Minimum 8 characters |
| Confirm Password | Must match the password above |
Demo Data:
| Option | Effect |
|---|---|
| ☐ Start with Demo Data | Installs a sample business, services, providers, and bookings to explore the platform |
{primary.fa-lightbulb-o} Check Start with Demo Data if this is a trial install or you want to explore the platform with sample content. Leave it unchecked for a clean production install.
Click Create Account & Install →. This step:
Runs php artisan migrate     ← creates all database tables
Runs php artisan db:seed     ← seeds roles, settings, default data
Seeds BookingSaasSeeder      ← only if "Start with Demo Data" is checked
Creates your admin user      ← assigns the super_admin role
Saves site name & description
{warning.fa-exclamation-triangle} This step may take 20–30 seconds on shared hosting. Do not close the browser or navigate away while it runs.
Step 6 — Finish
When installation completes successfully, you land on the finish screen.
The installer has:
- ✅ Run all database migrations
- ✅ Seeded roles, default settings, and initial data
- ✅ Created your super admin account
- ✅ Written database credentials and
APP_URLto.env - ✅ Set
APP_ENV=productionandAPP_DEBUG=false - ✅ Generated an
APP_KEYif one wasn't present - ✅ Created the
.installedlock file (prevents re-running the installer) - ✅ Published Livewire assets
Click Go to Admin Panel → to log in with the email and password you set in Step 5.
{danger.fa-lock} The installer is automatically locked after completion — any visit to
/installredirects to the homepage. If you need to reinstall, you must delete the.installedfile from the project root manually.
After Installation
The installer handles the essentials, but a production deployment needs a few more steps:
1. Create the storage symlink (required for uploaded images to display):
php artisan storage:link2. Set up the queue worker (required for emails to send):
Without a running worker, all emails queue silently and never send. See Web Server Setup → Queue Worker for the full Supervisor config.
# Quick test — run the worker manually:
php artisan queue:work --tries=3
3. Set up the cron job (required for scheduled reminders):
crontab -eAdd:
* * * * * cd /var/www/slotara && php artisan schedule:run >> /dev/null 2>&14. Configure SMTP in Admin → Settings → Email so confirmation and notification emails can be sent.
5. Configure Stripe in Admin → Settings → Payments if you plan to charge for services or subscriptions.
{primary.fa-rocket} See Configuration → for a full walkthrough of every setting in the Admin panel.
Troubleshooting
| Symptom | Likely Cause | Fix |
|---|---|---|
Blank white page at /install |
Web server not pointing to public/ |
Check document root in your Nginx/Apache config |
| Stuck on Requirements with all green | Browser cached an old redirect | Clear browser cache or open in an incognito window |
| "Unable to connect to database" | Wrong credentials or MySQL not running | Verify with mysql -u username -p database_name from the command line |
| Step 5 times out | Shared hosting with short execution limits | Contact host to increase max_execution_time to 120s, or run php artisan migrate --force && php artisan db:seed --force via SSH |
"Go to Admin Panel" redirects to /install |
.installed file not created |
Check storage/logs/laravel.log for the error from Step 6; ensure public/ is writable |
| Images or assets not loading after install | Storage symlink missing | Run php artisan storage:link |
| Emails not sending | Queue worker not running | Start queue worker: php artisan queue:work or configure Supervisor |
{primary.fa-info-circle} All installation errors are written to
storage/logs/laravel.log. If something goes wrong, that file is the first place to look.